As a result, many individuals are turning to organic and chemical-free alternatives. One option gaining popularity is the creation of DIY organic soap. Not only is it free from harsh chemicals, but it also allows individuals to personalize their soap to suit specific skin types and preferences. In this article, we will explore the benefits of making your own organic soap and provide you with a simple step-by-step guide to get started. Benefits of DIY Organic Soap: 1. Chemical-free: One of the primary advantages of creating your own organic soap is that you have complete control over the ingredients used.
.
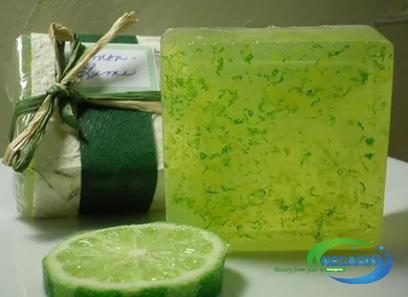
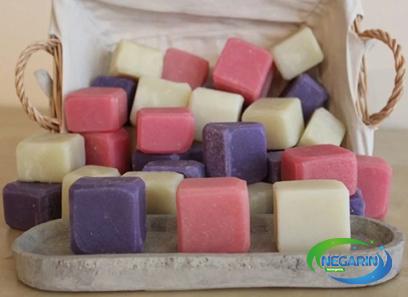
 By using natural, organic materials, you can ensure that your soap contains no harmful chemicals or irritants often found in commercial brands. 2. Personalization: DIY organic soap allows you to customize the product according to your individual needs and preferences. You can choose specific essential oils, herbs, or exfoliants to create a soap that addresses your skin concerns, be it dryness, acne, or sensitivity. 3. Cost-effective: Making your own soap can prove to be more economical in the long run. While the upfront investment may involve procuring ingredients and equipment, the bulk sourcing of materials and the ability to make larger batches can help save money over time.
..
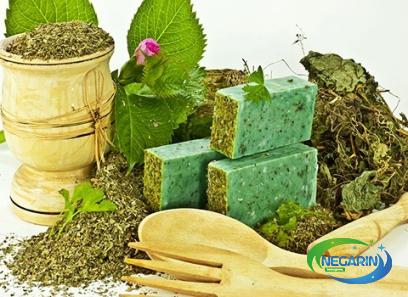
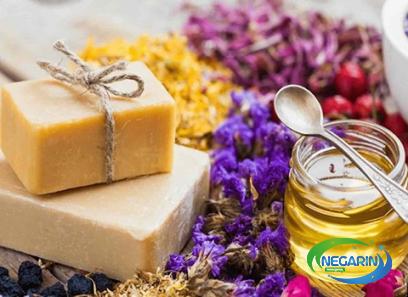
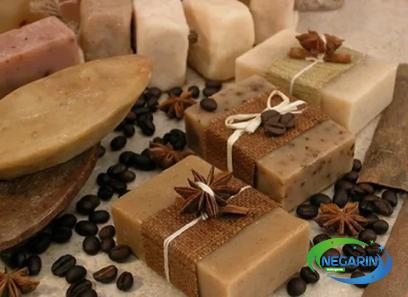
 Step-by-Step Guide to Making DIY Organic Soap: 1. Gather the necessary ingredients: Begin by collecting organic oils such as coconut, olive, or almond oil as the base for your soap. You may also include essential oils, natural colorants like herbs or spices, and exfoliants like oats or coffee grounds. 2. Calculate and measure: Determine the quantity of oils and other ingredients required for your soap recipe. Use a soap calculator or refer to reliable resources for accurate measurements based on the chosen recipe. 3. Prepare your workspace: Ensure you have a clean and clutter-free area to work in. Use appropriate safety gear such as gloves and goggles to protect yourself during the soap-making process. 4. Melt the oils: Heat the base oils in a double boiler until they melt completely. Monitor the temperature carefully to avoid overheating.
…
 5. Mix in essential oils and add-ons: Once the oils have melted, remove the mixture from heat and allow it to cool slightly. At this stage, add your chosen essential oils and any additional herbs, colorants, or exfoliants to infuse your soap with their desired properties. 6. Add lye: With caution, add the lye to the oils. Make sure to follow correct safety procedures, as lye can be dangerous. Stir the mixture thoroughly until it reaches the desired consistency. 7. Pour and mold: Carefully pour the soap mixture into your chosen molds. Silicone molds are a popular option due to their flexibility and ease of removal. 8. Cure and enjoy: Allow the soap to cure for several weeks in a cool, dry area. During this time, the soap will harden and develop its full cleansing properties. Once cured, enjoy your own personalized, organic soap! Conclusion: Creating your own DIY organic soap provides numerous benefits, from avoiding harmful chemicals to personalizing your product. By following a simple step-by-step guide, you can make soap that suits your preferences and skin type while also saving money in the long run. So why not embark on a new journey of self-care and sustainability by trying your hand at making your very own organic soap?

Your comment submitted.